You're going to a marathon, a festival or a conference anyway. On IRLSlots you can let brands bid for space on your T-shirt, cap, bag or race kit while you're there. Listing is free, you keep 100% of the winning bid, and nothing goes live until you press Publish.
The whole flow has five short steps. It takes about ten minutes the first time.
Open the listing formBefore you start
- Pick an event at least 2–3 weeks away. Brands usually send you the printed shirt or stickers, and that takes time. Events that are too close are greyed out.
- Take a clear photo of yourself (or your bag, car, bike) in good light, showing the place where the ad will go.
- Sign in. Click Sell ad space in the top-right corner — you'll be asked to sign in or create an account first.
Step 1 — Choose the event
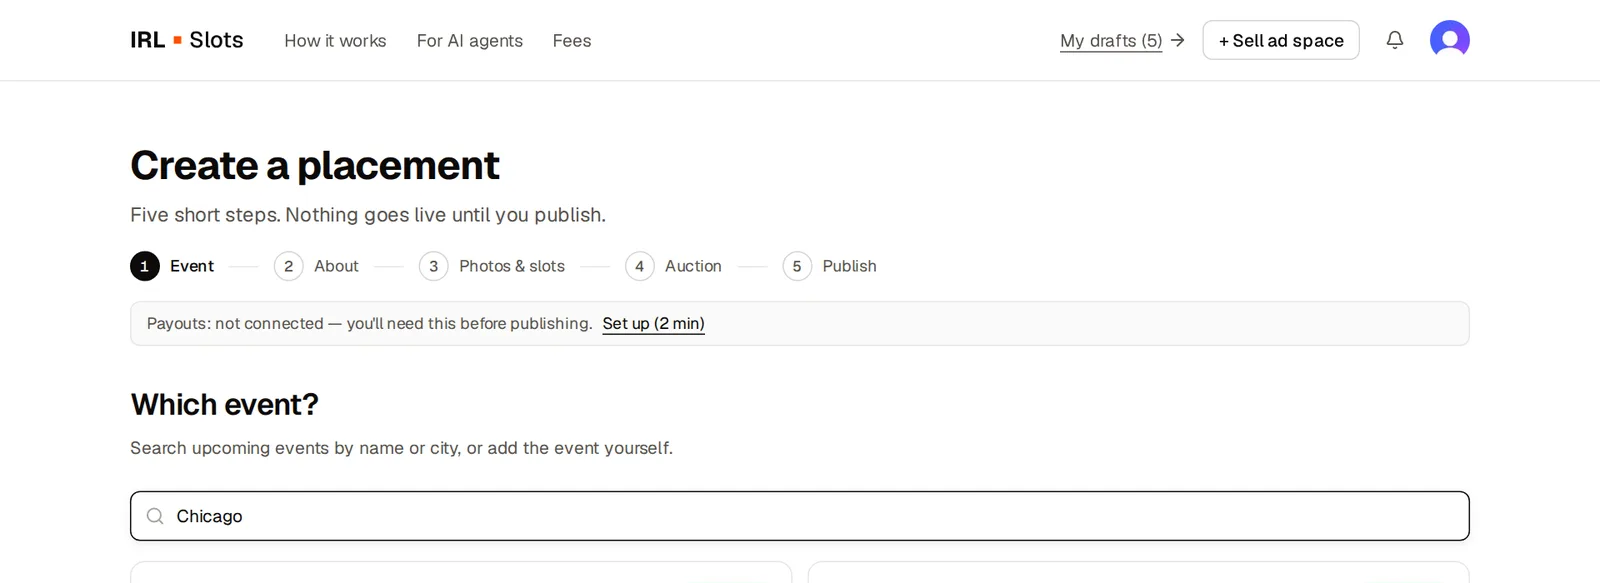
Type the name of the event or the city in the search box, then click the event card. You go straight to the next step — there's no extra button.
Can't find your event? Click Add it under the list, enter the name, date, city and the official website. We check new events before they appear for everyone, but you can continue your draft right away.
Step 2 — Tell brands about it
Four short questions, one at a time:
- Name this placement — the first thing a brand sees on the card. Keep it concrete: "Chicago Marathon race shirt — chest and back".
- What will you do? — where you'll be and what you'll wear.
- Who will see it? — crowds, photographers, your social media.
- Anything else a brand should know.
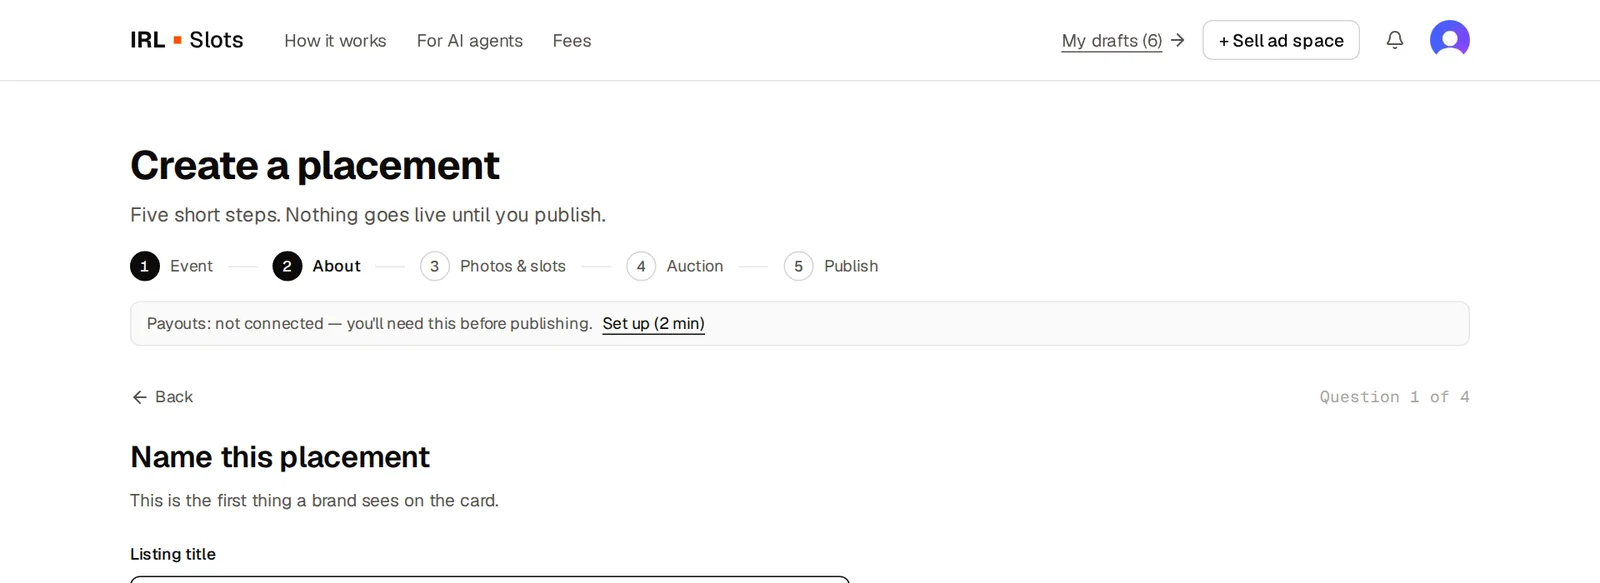
Every answer is saved as you go — you can close the tab and come back later from My drafts in the header.
Step 3 — Add photos and mark the spots
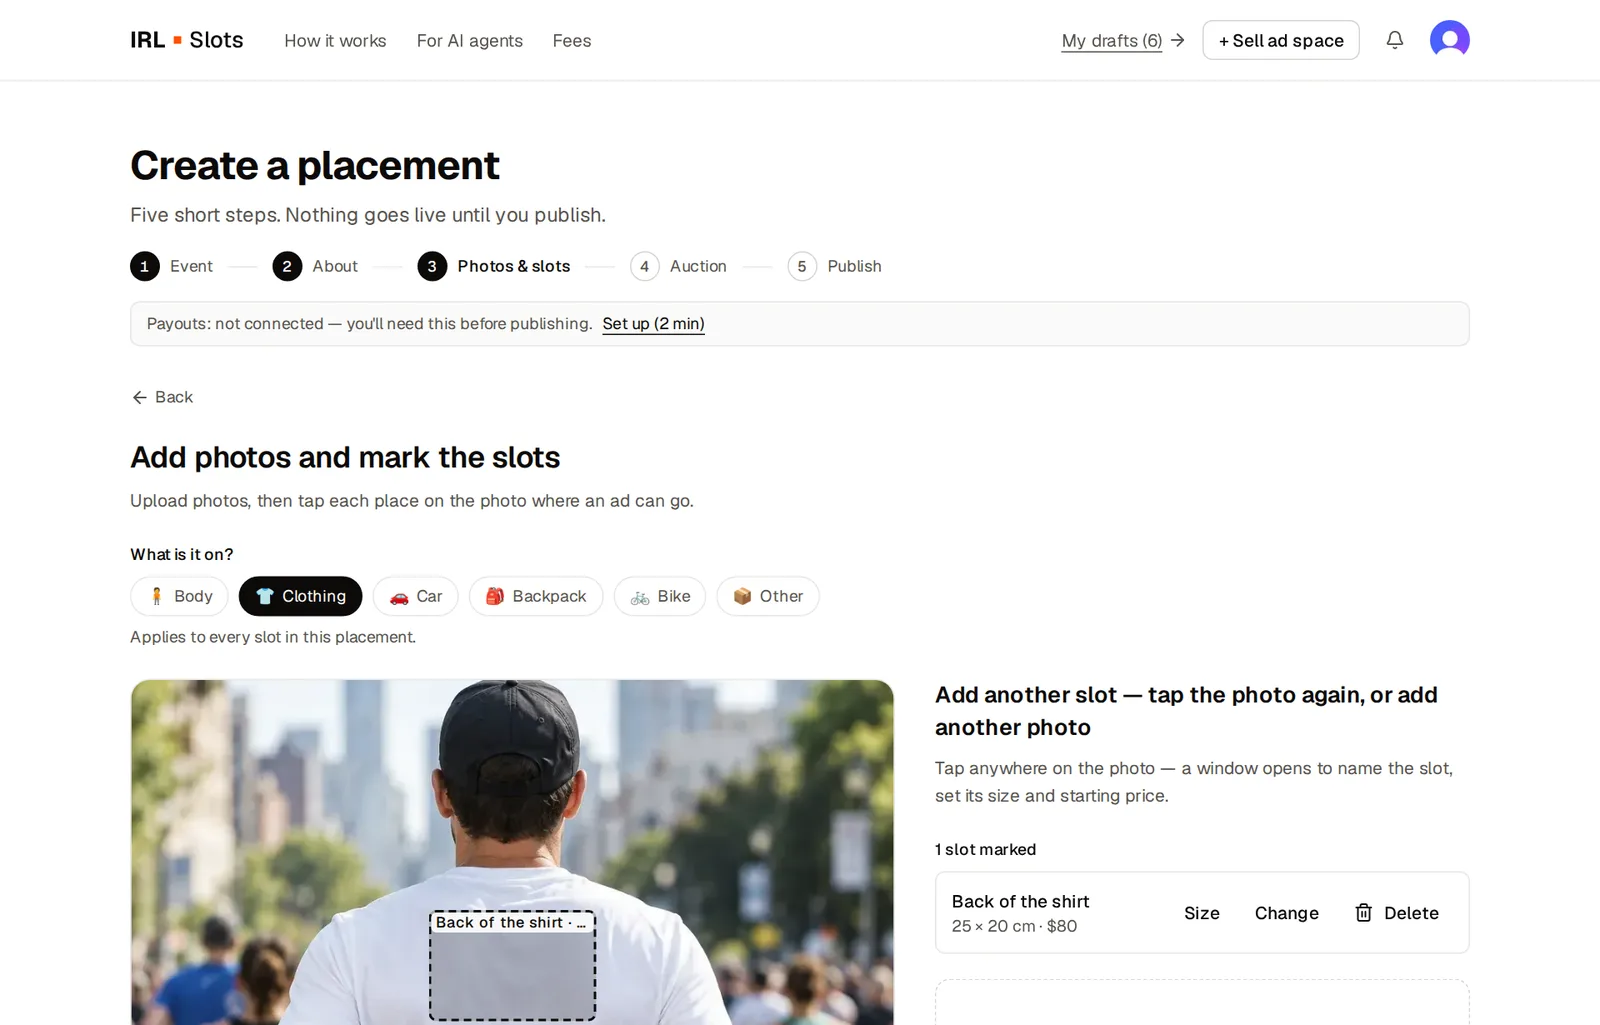
Choose what the ad goes on (body, clothing, car, backpack, bike or other), then upload one or more photos. After each upload you can crop the photo.
Now tap the photo where an ad can go. A small window opens:
- Name — e.g. Back of the shirt;
- Size in centimetres — width × height;
- Start price in US dollars.
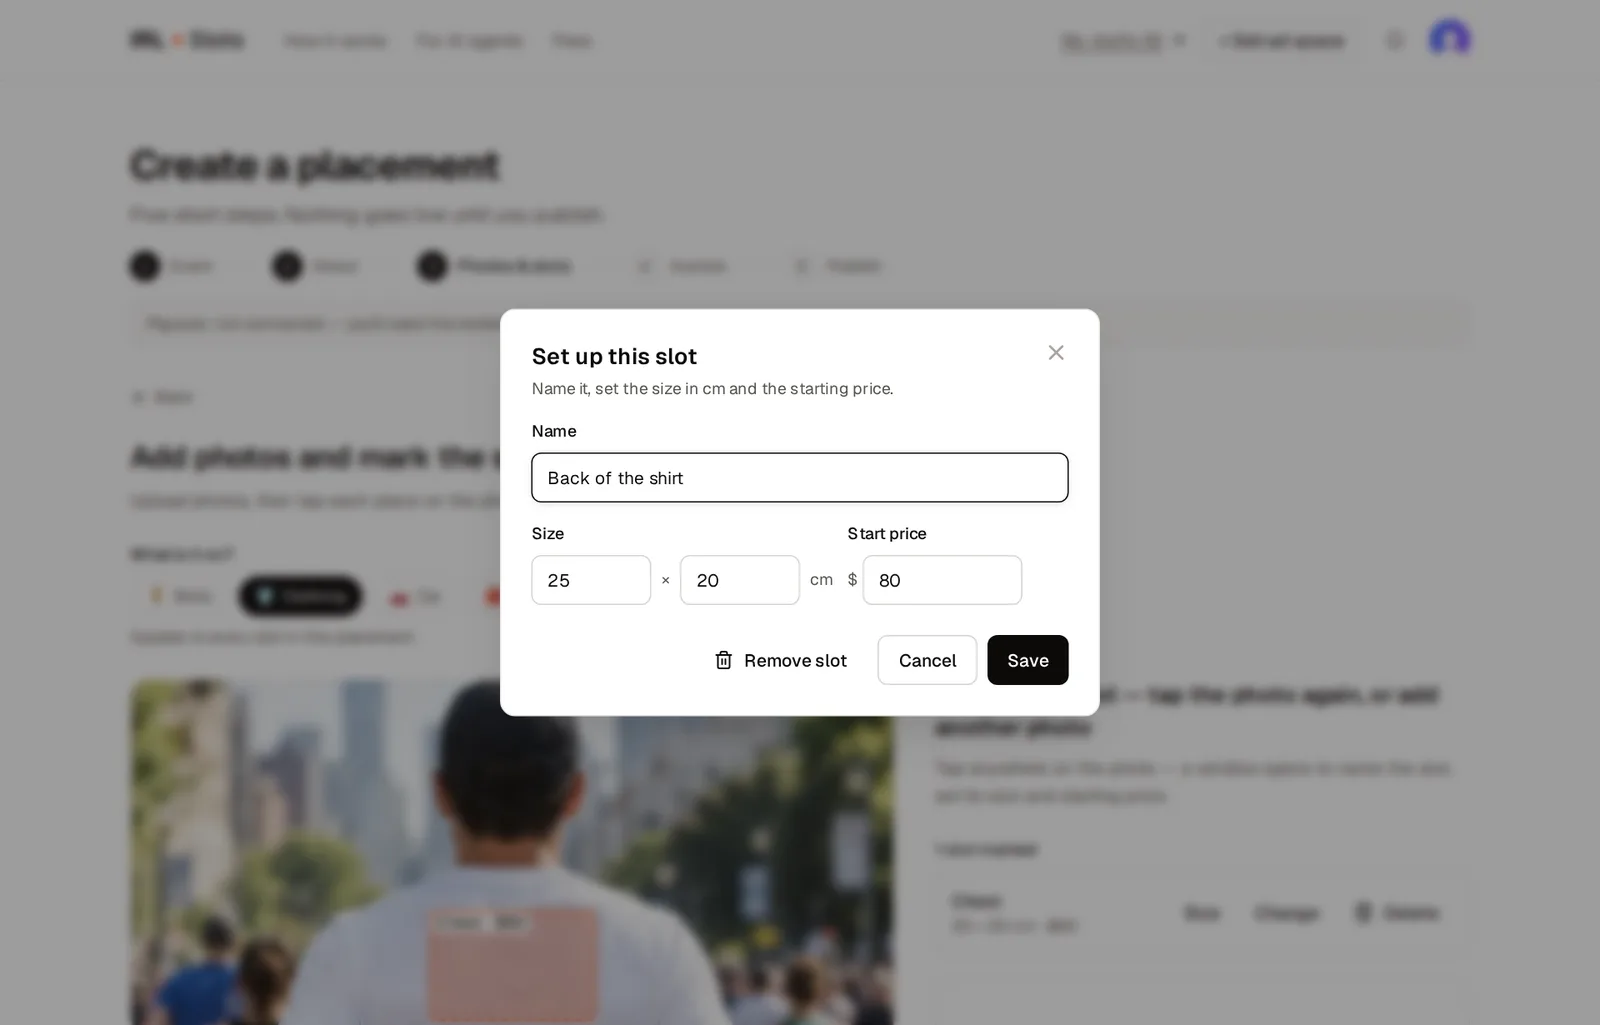
Each spot you mark becomes its own auction. Tap the photo again to add another spot, or add another photo for the back or the side.
Not sure what to charge? Read How much to charge for ad space.
Step 4 — Set the auction
This is where you decide how the deal works:
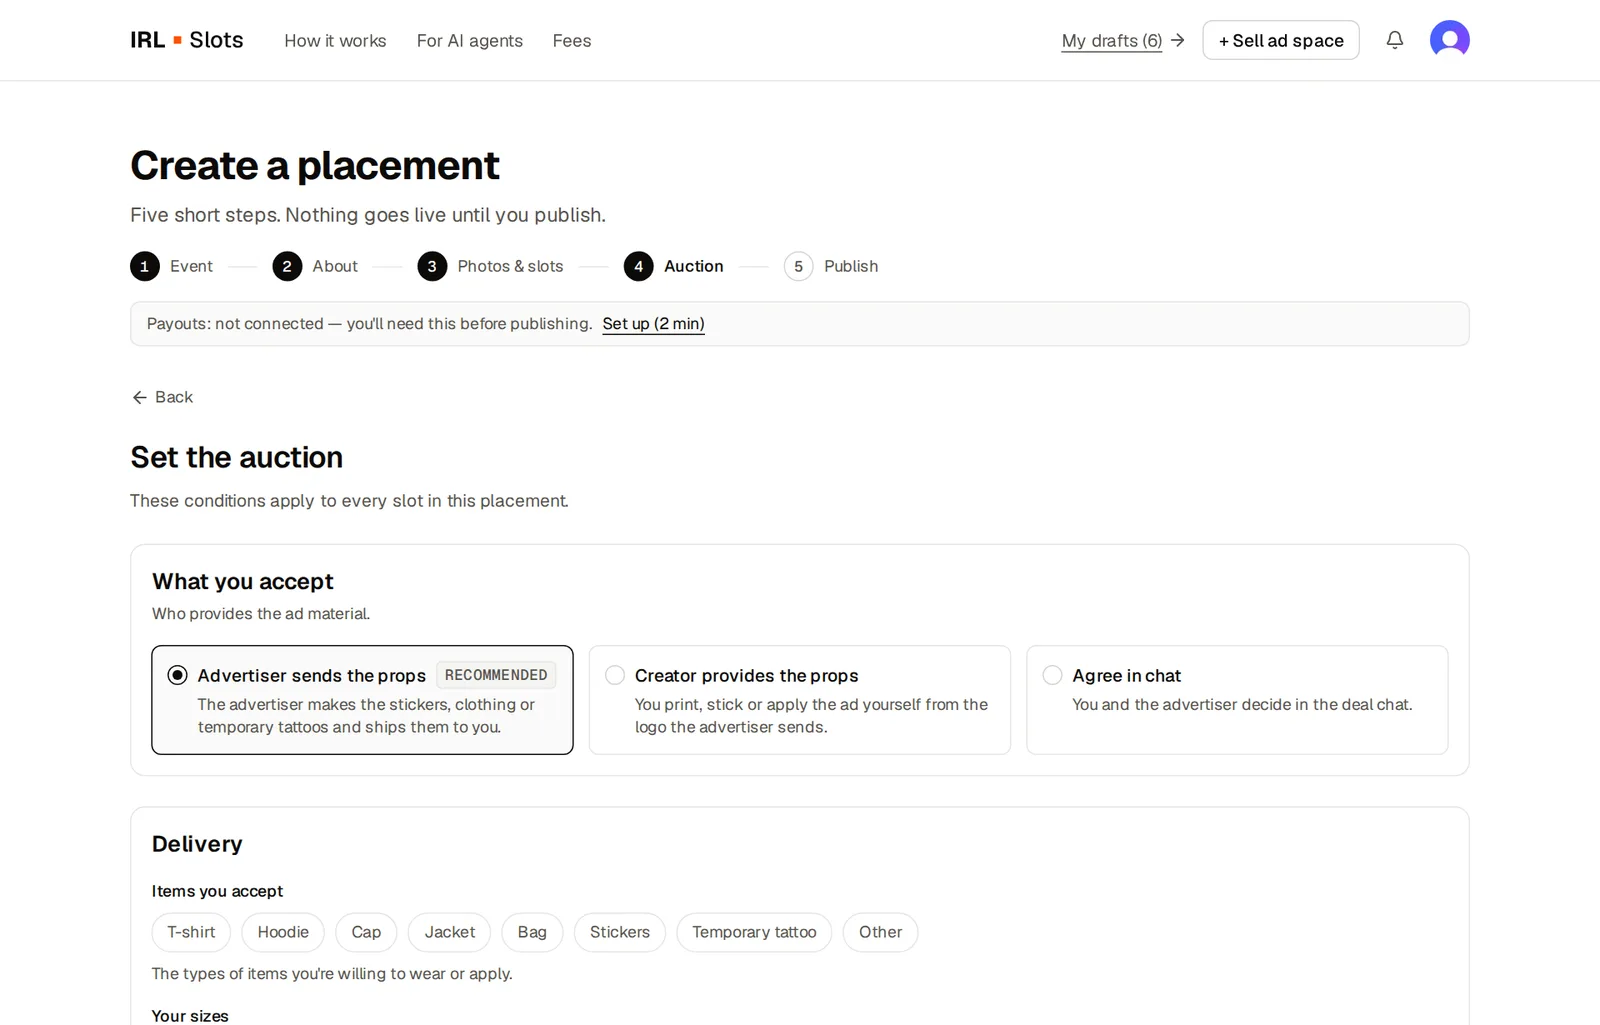
- What you accept. Advertiser sends the props (recommended) — the brand prints the T-shirt, stickers or temporary tattoo and ships it to you. Or Creator provides the props — you print or apply the logo yourself. Or agree in the chat.
- Delivery. If the brand ships items, choose what you accept (T-shirt, cap, stickers…), add your sizes and the country and city where you'll receive them. The exact address is only shared with the winning advertiser.
- Auction. It starts right after you publish and runs 24 hours, 3 or 5 days. The dates are picked automatically so the brand has time to ship before the event — you can change them.
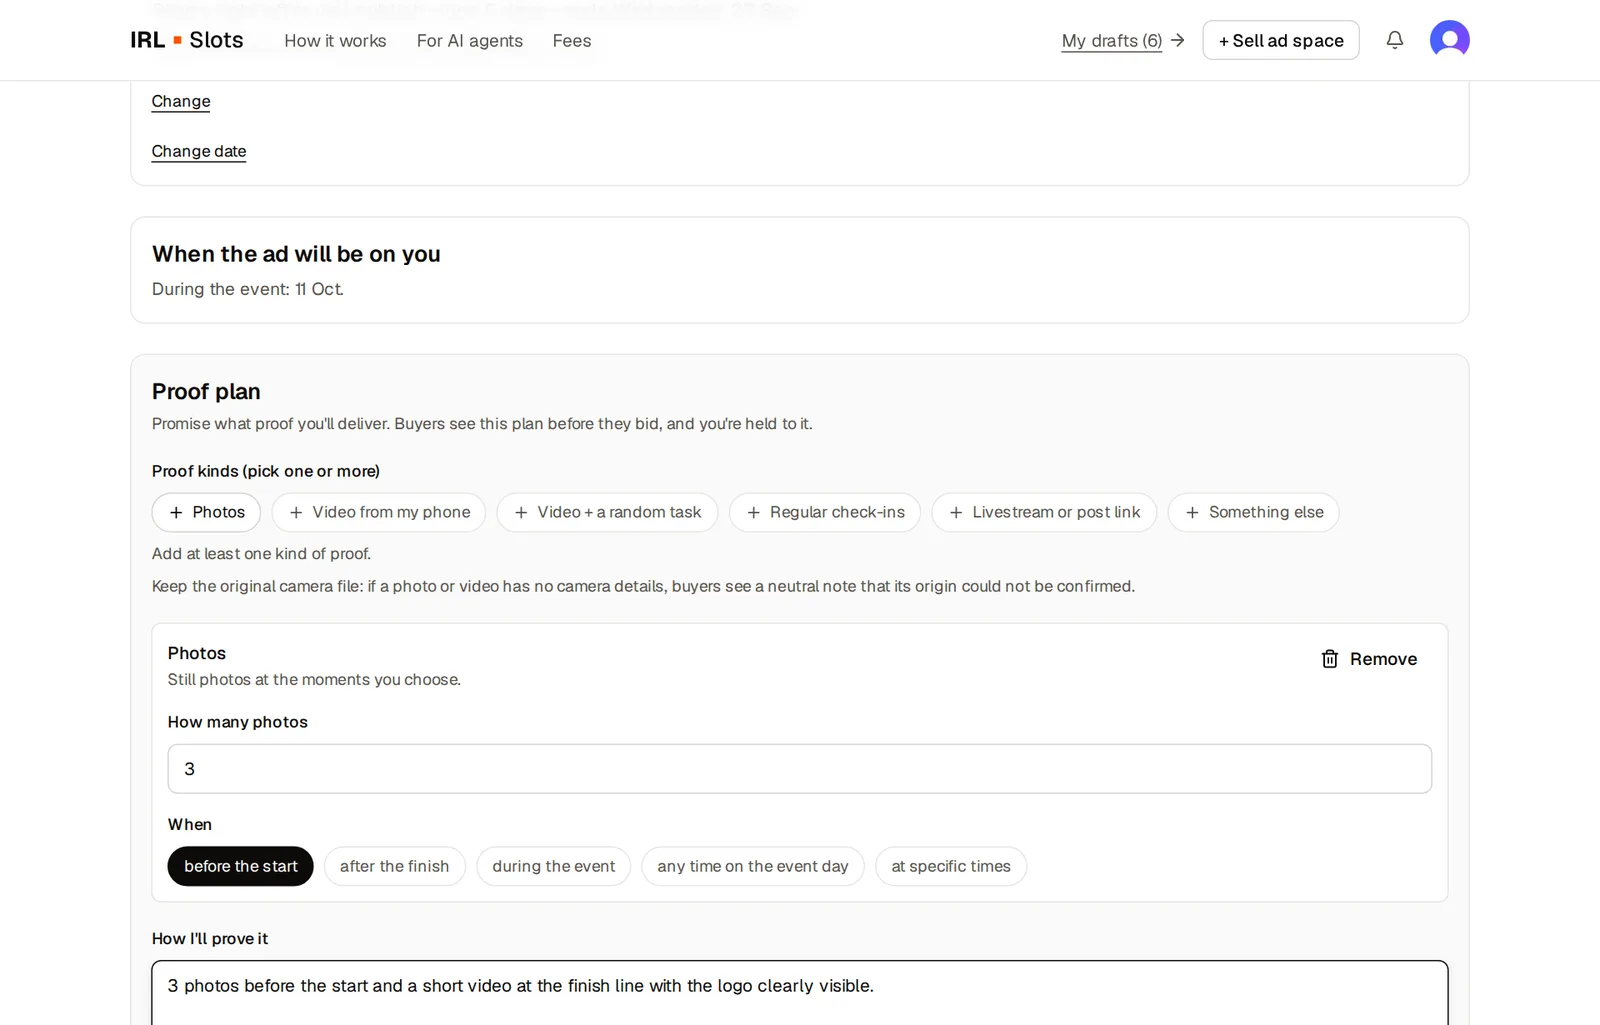
- Proof plan. Promise what proof you'll deliver: photos, a video, check-ins, a livestream or a post, and when. Buyers see this plan before they bid, and you're held to it — so promise what you can really do.
Step 5 — Review and publish
You'll see your placement exactly as brands will see it. Check the photo, the slots and the details.
Two things before you can publish:
- Tick the confirmation that the photos show you or your own property.
- Connect payouts. Stripe pays the winning bid straight to your own account, so you need to connect it once. It takes a few minutes — see How to set up payouts with Stripe. You'll come back to your draft automatically.
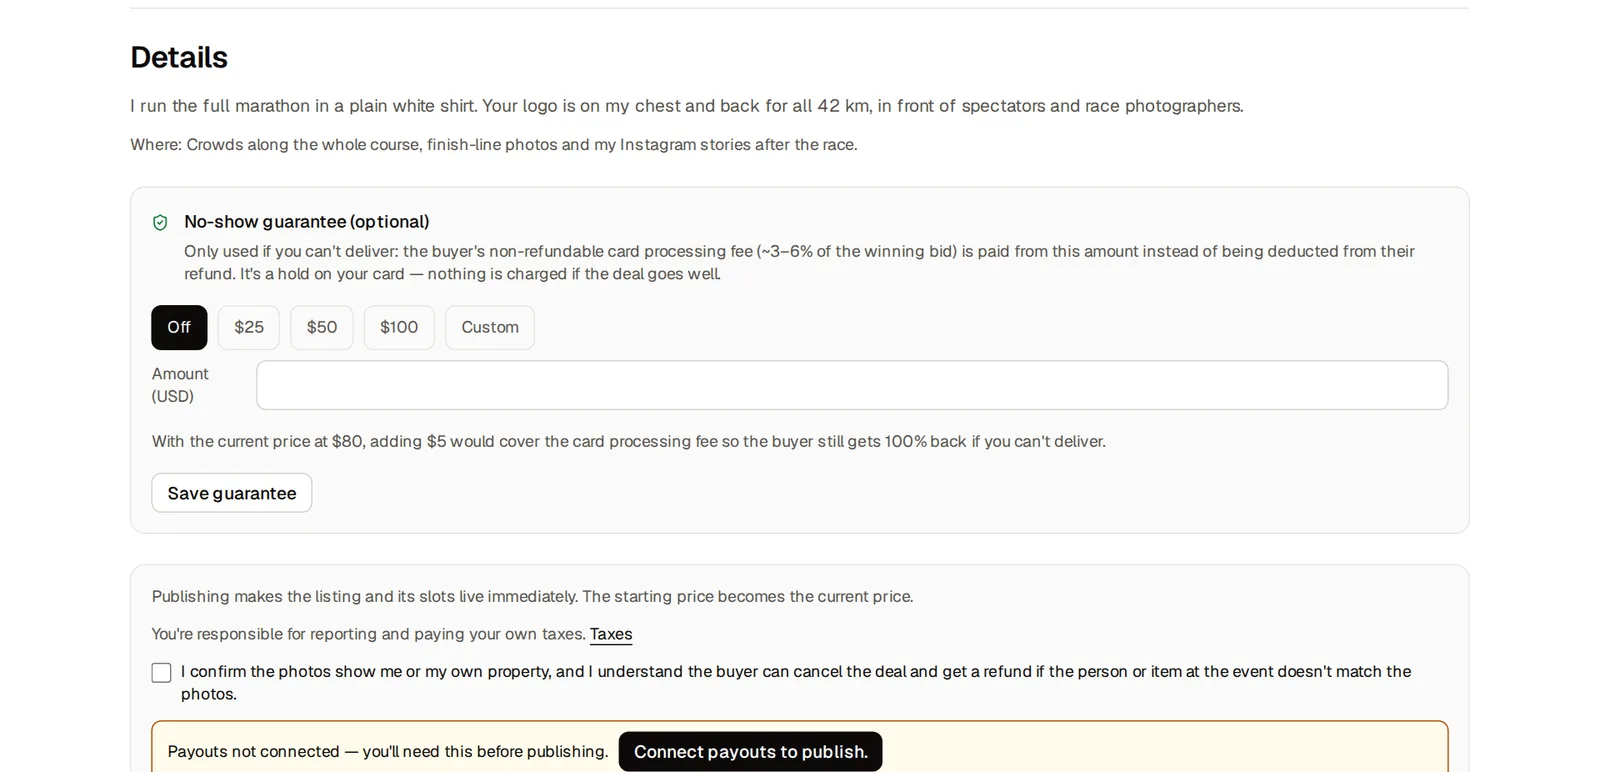
Optionally add a no-show guarantee — a hold on your card that tells brands you're serious. It's never charged if you deliver.
Press Publish placement — your auctions are live.
What happens next
- Brands bid. You get a notification for each bid.
- When the auction ends, the highest bid wins and the brand sends you its logo or the item.
- You go to the event, wear it and post the proof you promised.
- The money goes to your Stripe account. Details: How to deliver proof and get paid.